The alarm sounded at 5:20 on Thursday morning; a 4 hour train journey to Manchester Picadilly awaited. Still, time for a shower and a coffee 🙂
After a reminder of why I don’t commute to London for work, I arrived at the Manchester Exhibition Centre just before 11; ready for the PiCam and Python workshop. I bought a camera a few weeks ago but hadn’t done much with it, this was my opportunity to learn the basics so I could play properly later. The most rewarding thing for me was helping the four teachers that were on my table, all of them with little to no exposure to the Pi. By the end of the session we’d taken our mugshots (or the table when the camera fell off) using the GPIO to control image and some simple video capture like a very basic digital camera. More info on the camera and Python can be found at http://picamera.readthedocs.org/ the lesson plans we used are at https://github.com/raspberrypilearning/python-picamera-setup
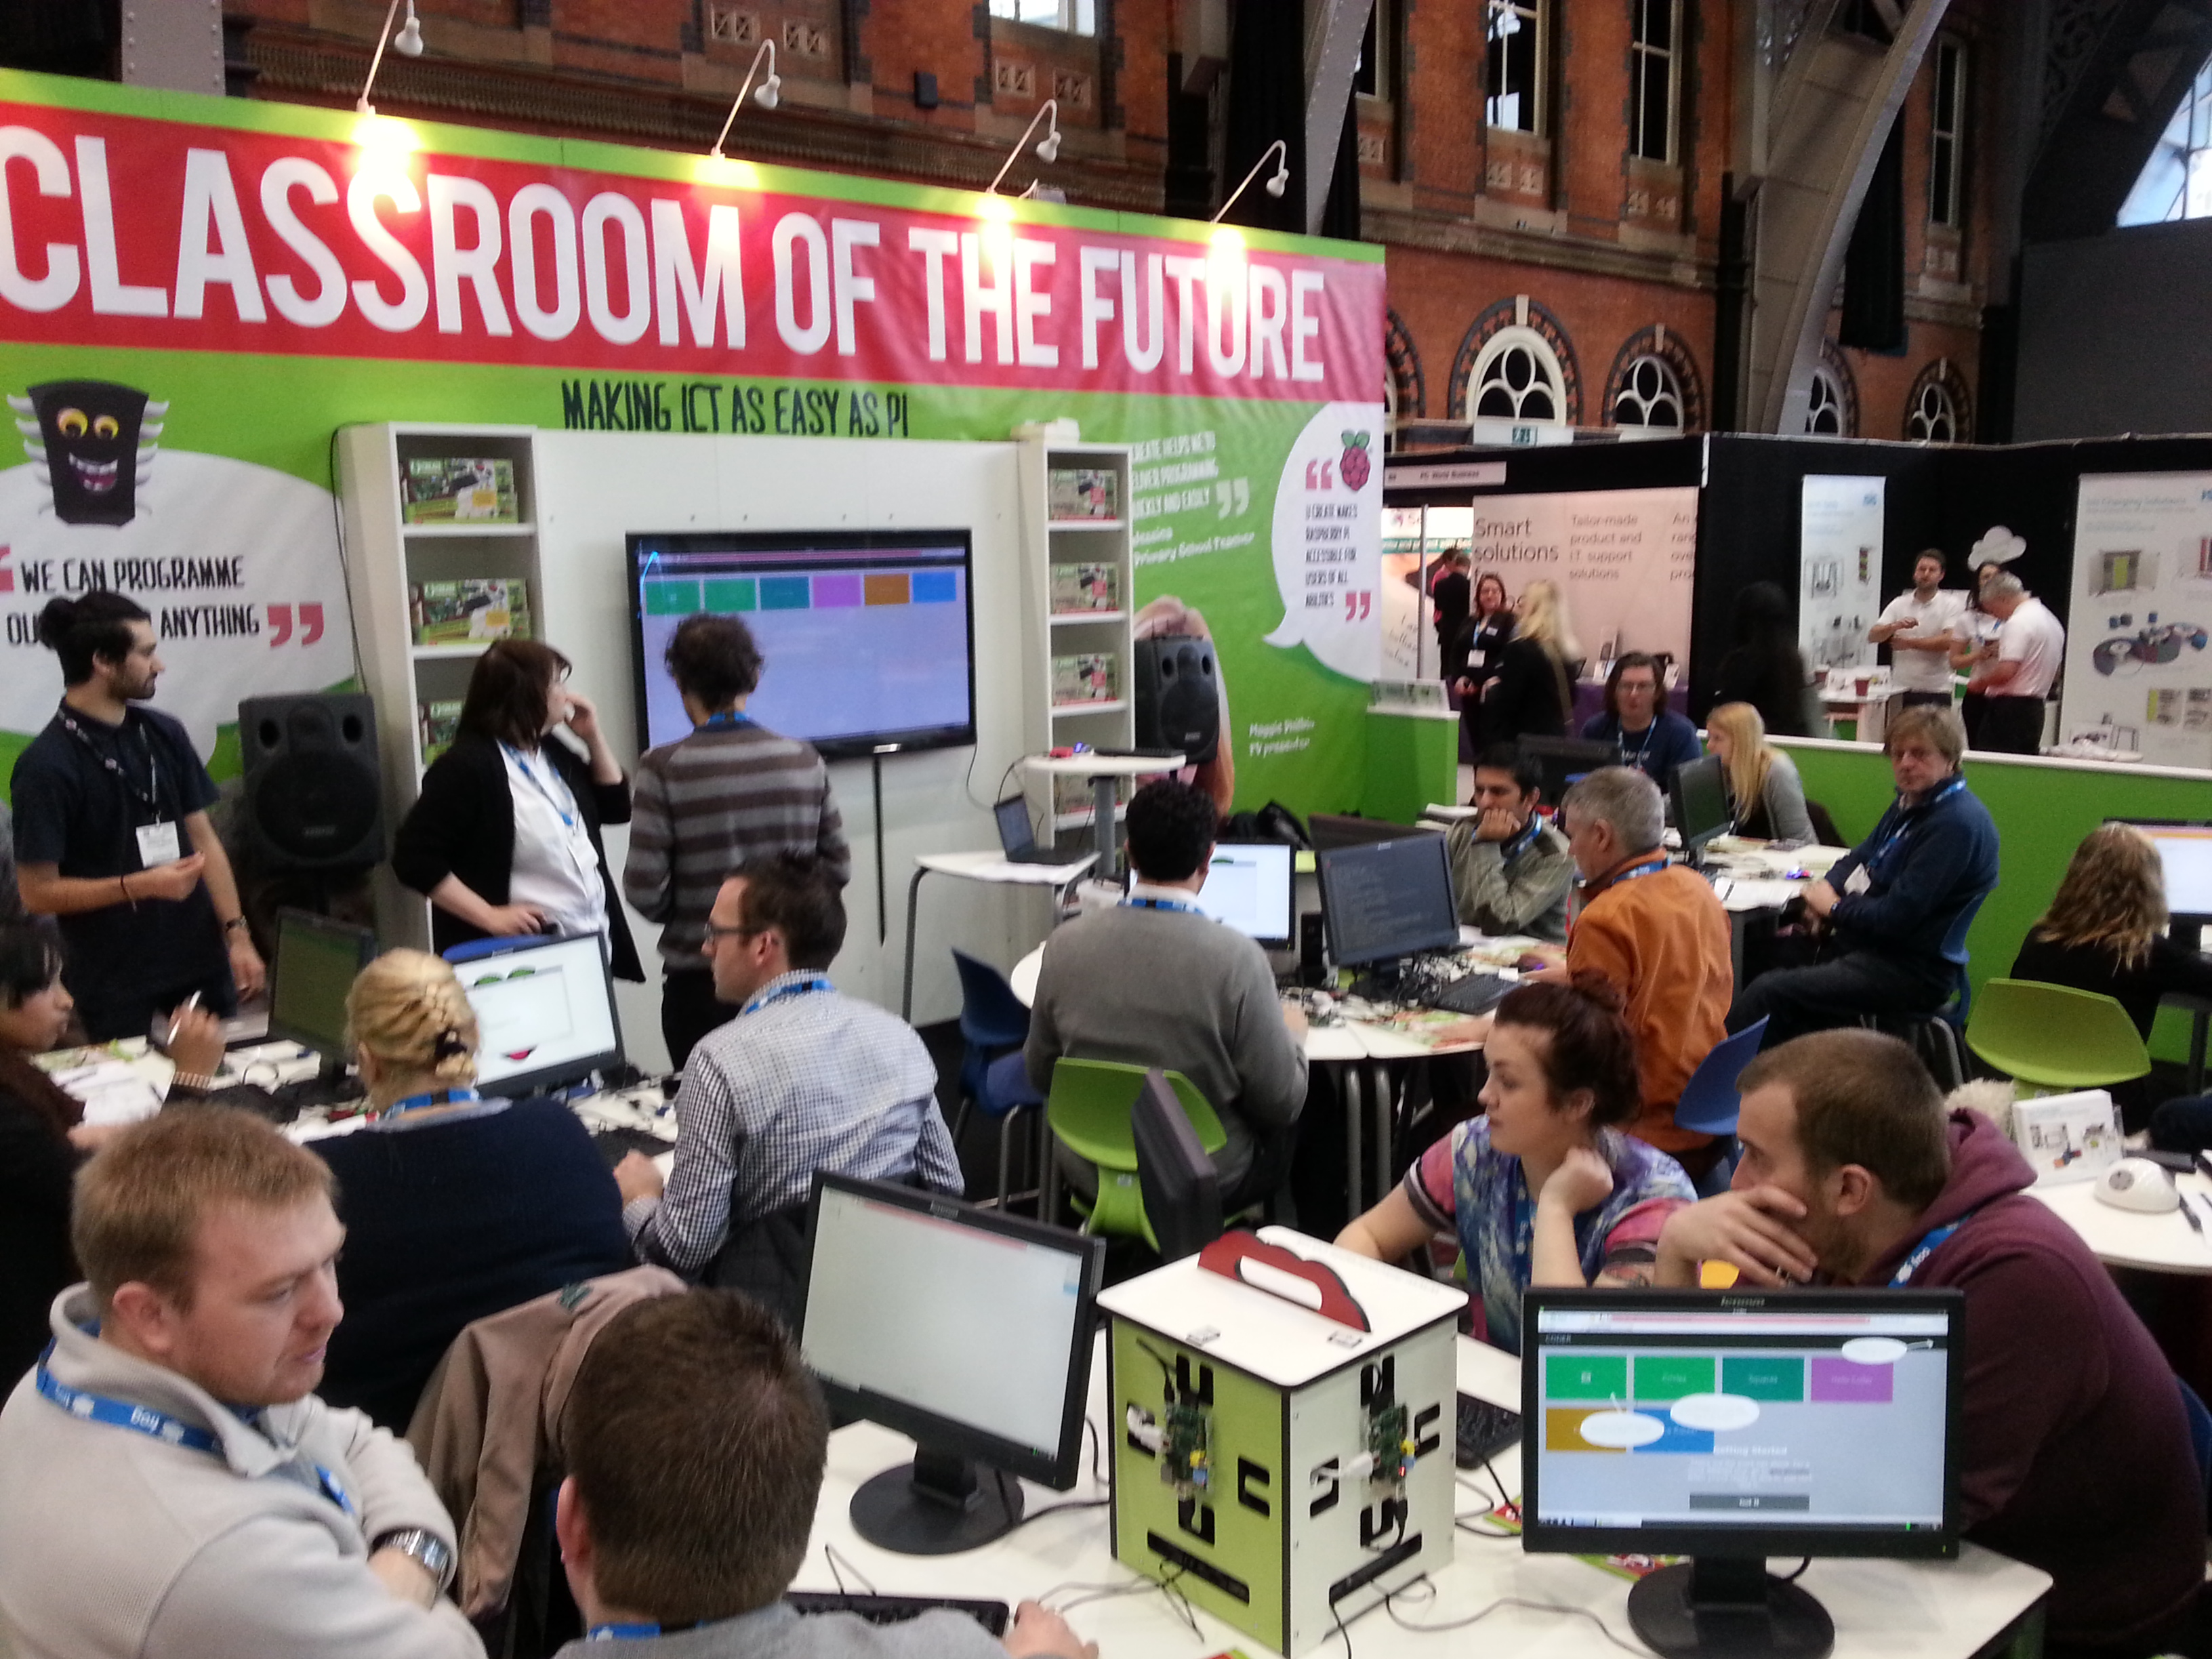
I spent the rest of the two days catching Slice of Pi talks, observing (and occasionally assisting) the CPC workshops. There were a few of these that stuck with me over those days
The New IT/Computing Curriculum
The long suffering Mrs ForToffee is a Primary teacher of some 12 years experience now which has given me a little bit of an insight (but not much) into her world. Unfortunately for her the poor woman has become a “geek by osmosis” from the years she has spent with me. As a result of my interest in the Pi I have been passing her as much information about the new curriculum and the Foundations efforts to assist with it as I can. However, the teachers I met are worried about a lot of the stuff that techies like me take for granted; breadboarding, coding, and ultimately understanding why something has gone wrong. What I do for a living/fun is daunting to them, but then again I couldn’t teach a class of 30 youngsters every day of the week. One of the things I did note was an inclination for teachers that wanted to use the GPIO to look at PiFace, PiGlow, (and now PiBrella) and the like as they’re quick and easy to setup and get working. It also mitigates their fear of bent or shorted pins and Pis that have had the magic smoke released.
I fear there is a LOT of work to be done in education to get both Primary and Secondary school teachers up to speed on computational thinking and coding; using the Pi as a platform or not. I can foresee teachers and pupils (in some quarters) needing to learn together; or the teachers learning from the pupils as they absorb it at a quicker rate. Some IT teachers just don’t know how to approach it [Note: this is my opinion based on a small sample of teachers I met at one conference]
Young People are Scarily Good
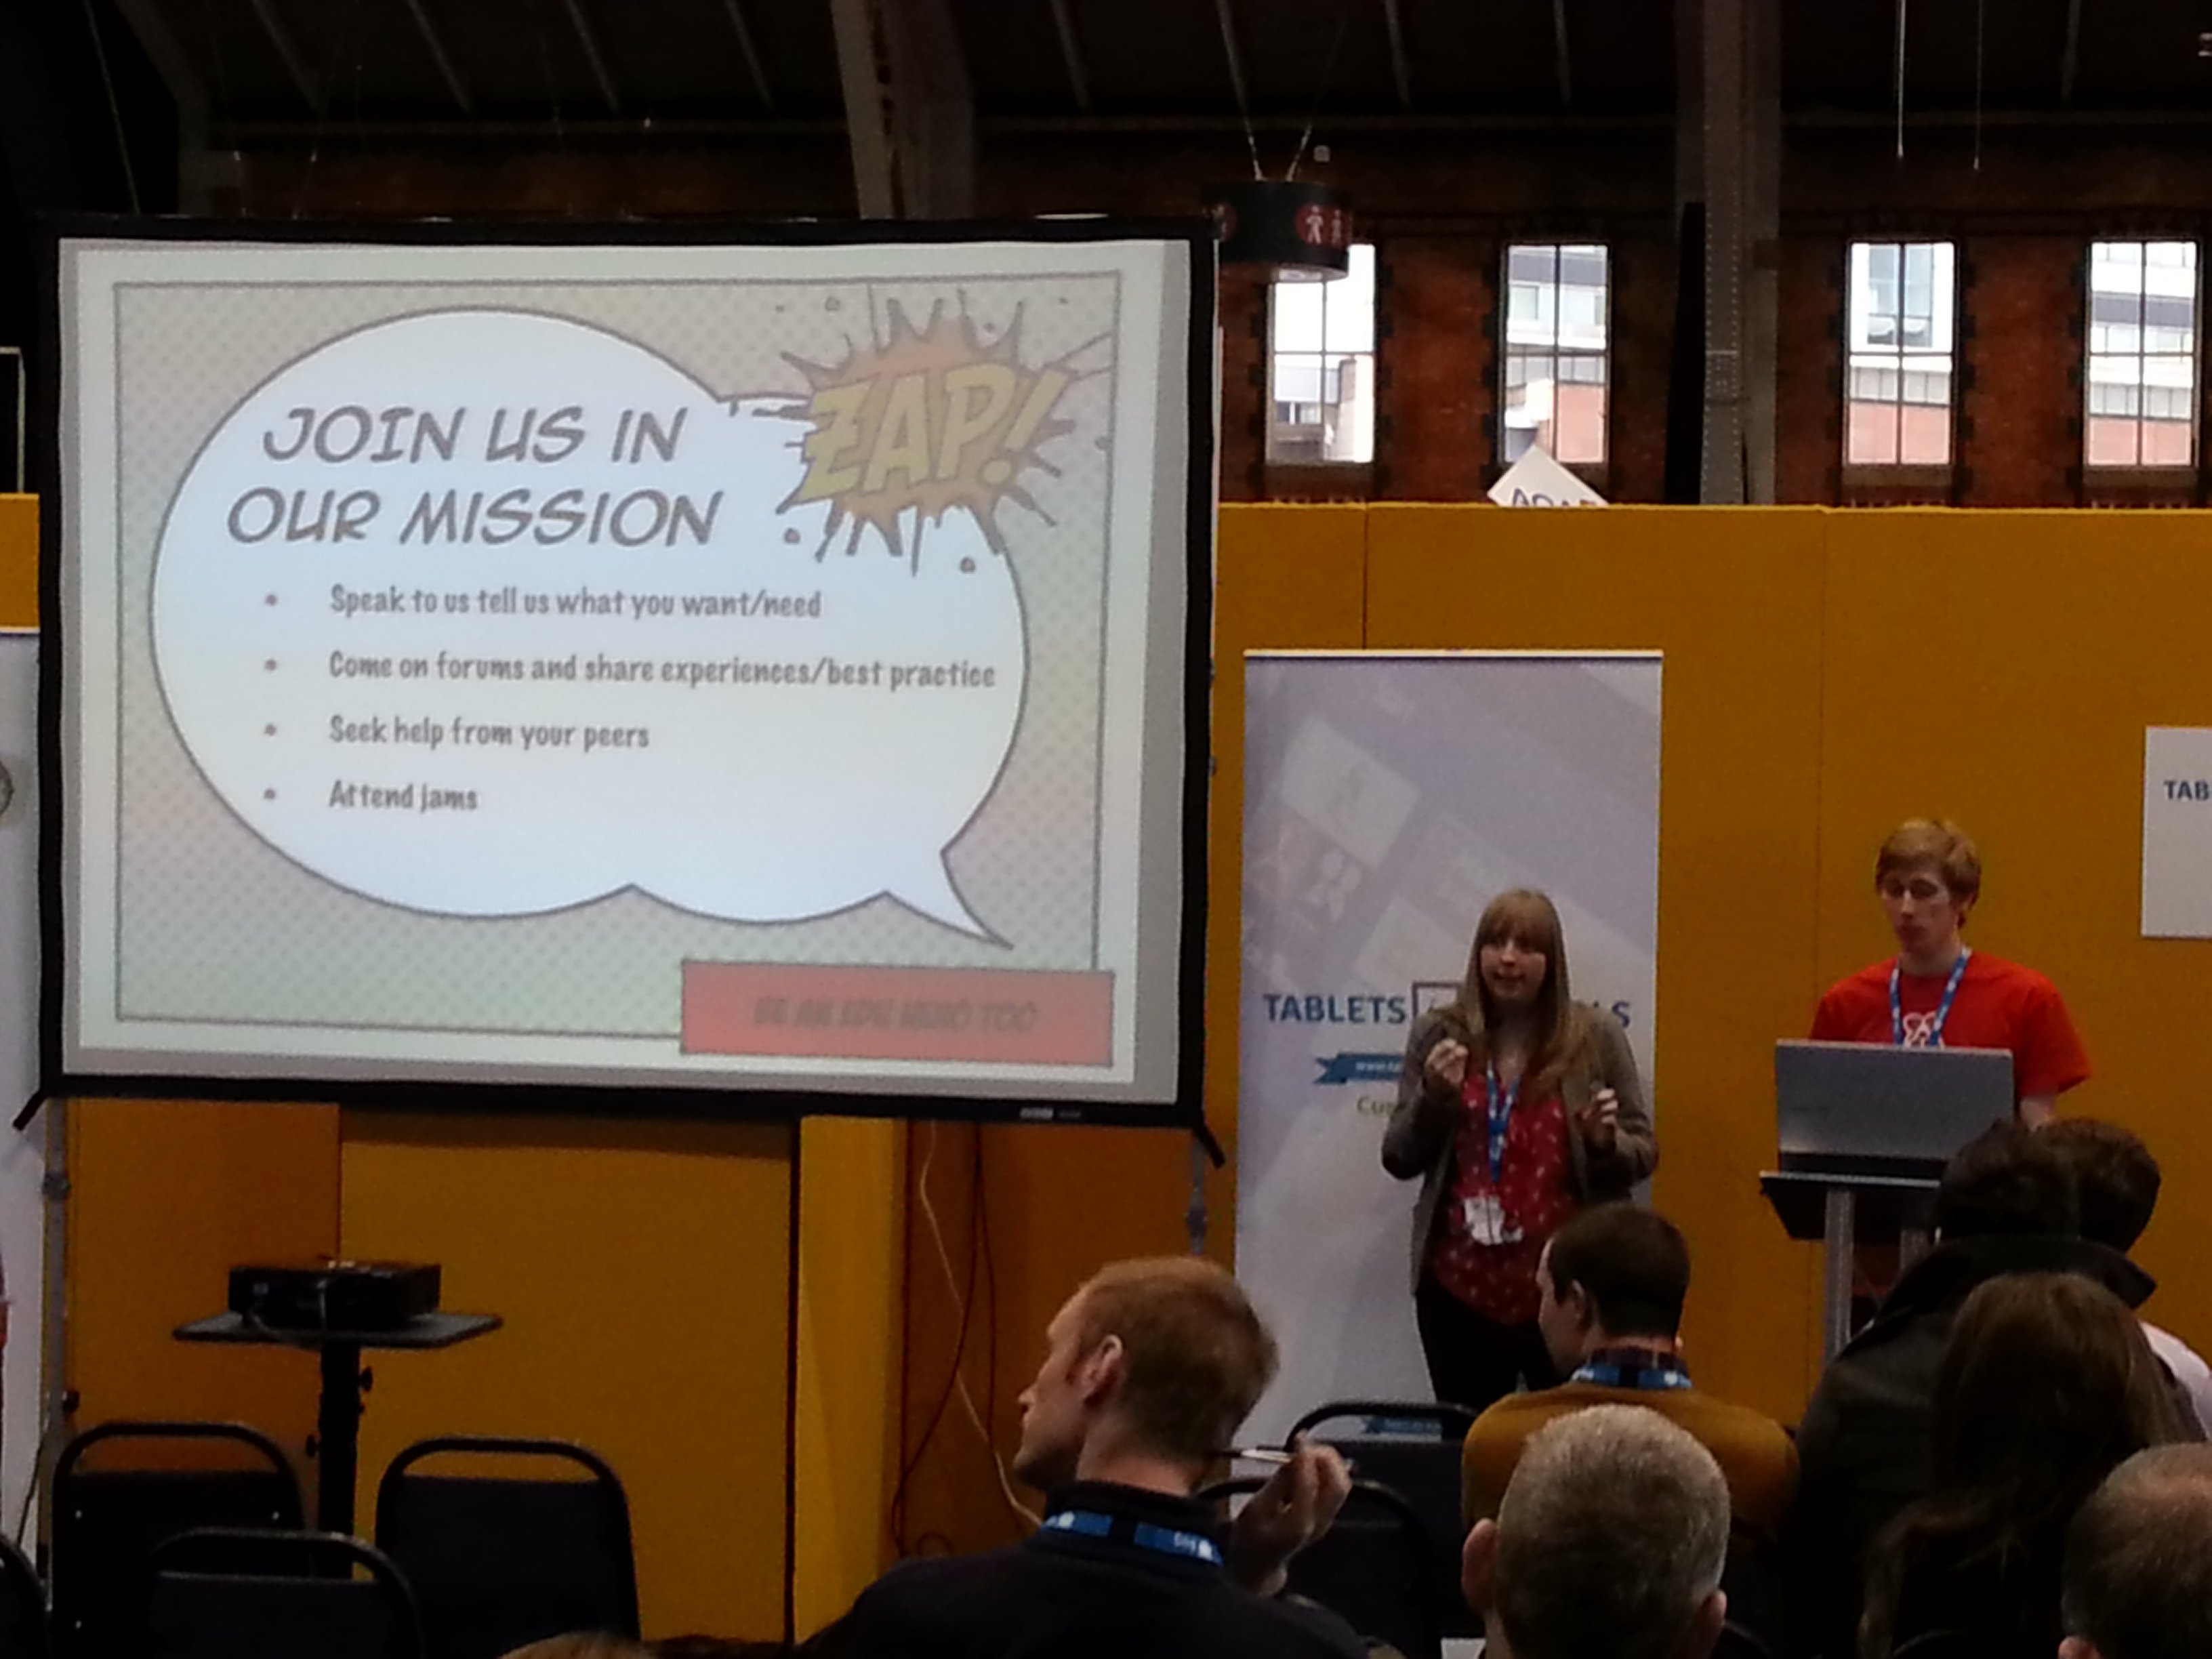
I work with teenagers on a voluntary basis with Scouts; I’d be hard pushed to find many that were as eloquent or as confident as Amy (14), Matthew (14) and Andrew (17). All three of them provided well delivered 15 minute talks to an audience of teachers and techies who’s average age would have been at at least twice if not nearly three times their own. [ I hope to add the videos of their talks when they become available]
The Pi Community is Diverse
- The young (as mentioned above, and younger) to the grey but young at heart keen to learn or keen to pass on their knowledge
- The techies that make stuff happen for others like Raspbian and GPIOScratch, or that bring skills from other platforms like the Arduino
- The teachers like Carrie Ann and Alan O’D who are passionate about their subject and want to enthuse everyone they meet (they both usually succeed)
- Those that know little but want to get involved
- The rest of us that fit in somewhere on this wide ranging raspberry pi love-in Venn diagram 🙂
I also had the fortune to meet members of the Pi Twitter-ati I’d been reading about from the past few weeks and years. Of the names I can remember…..
- Charlotte (who I’d been taunting on Twitter about the cake competition at the after jam party on Friday evening)
- Micheal (who attempted to fix my Raspberry Pi’s WIFI sat on the floor of the Viglen stand)
- Les (Knows how to recommend a restaurant)
- Simon (of ScratchGPIO fame)
- Alex (RasPi.TV)
- David (STEM Ambassador)
- Lisa (party planner extrodinaire, mother to two very clever children)
- Amy (Older clever child)
- Dan (Younger clever child
- Andrew (Surrogate clever child)
- Alan O’D (Mr Raspberry Jamboree, the master of volunteering people)
After the main conference there was a 2 hour “after show” party, which I’ll waffle about for a bit in my next post
Cue the Pictures
-
-
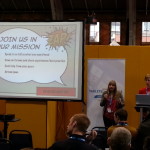
Ben and Carrie Ann outline the Foundations educational direction
-
-
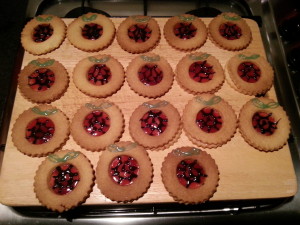
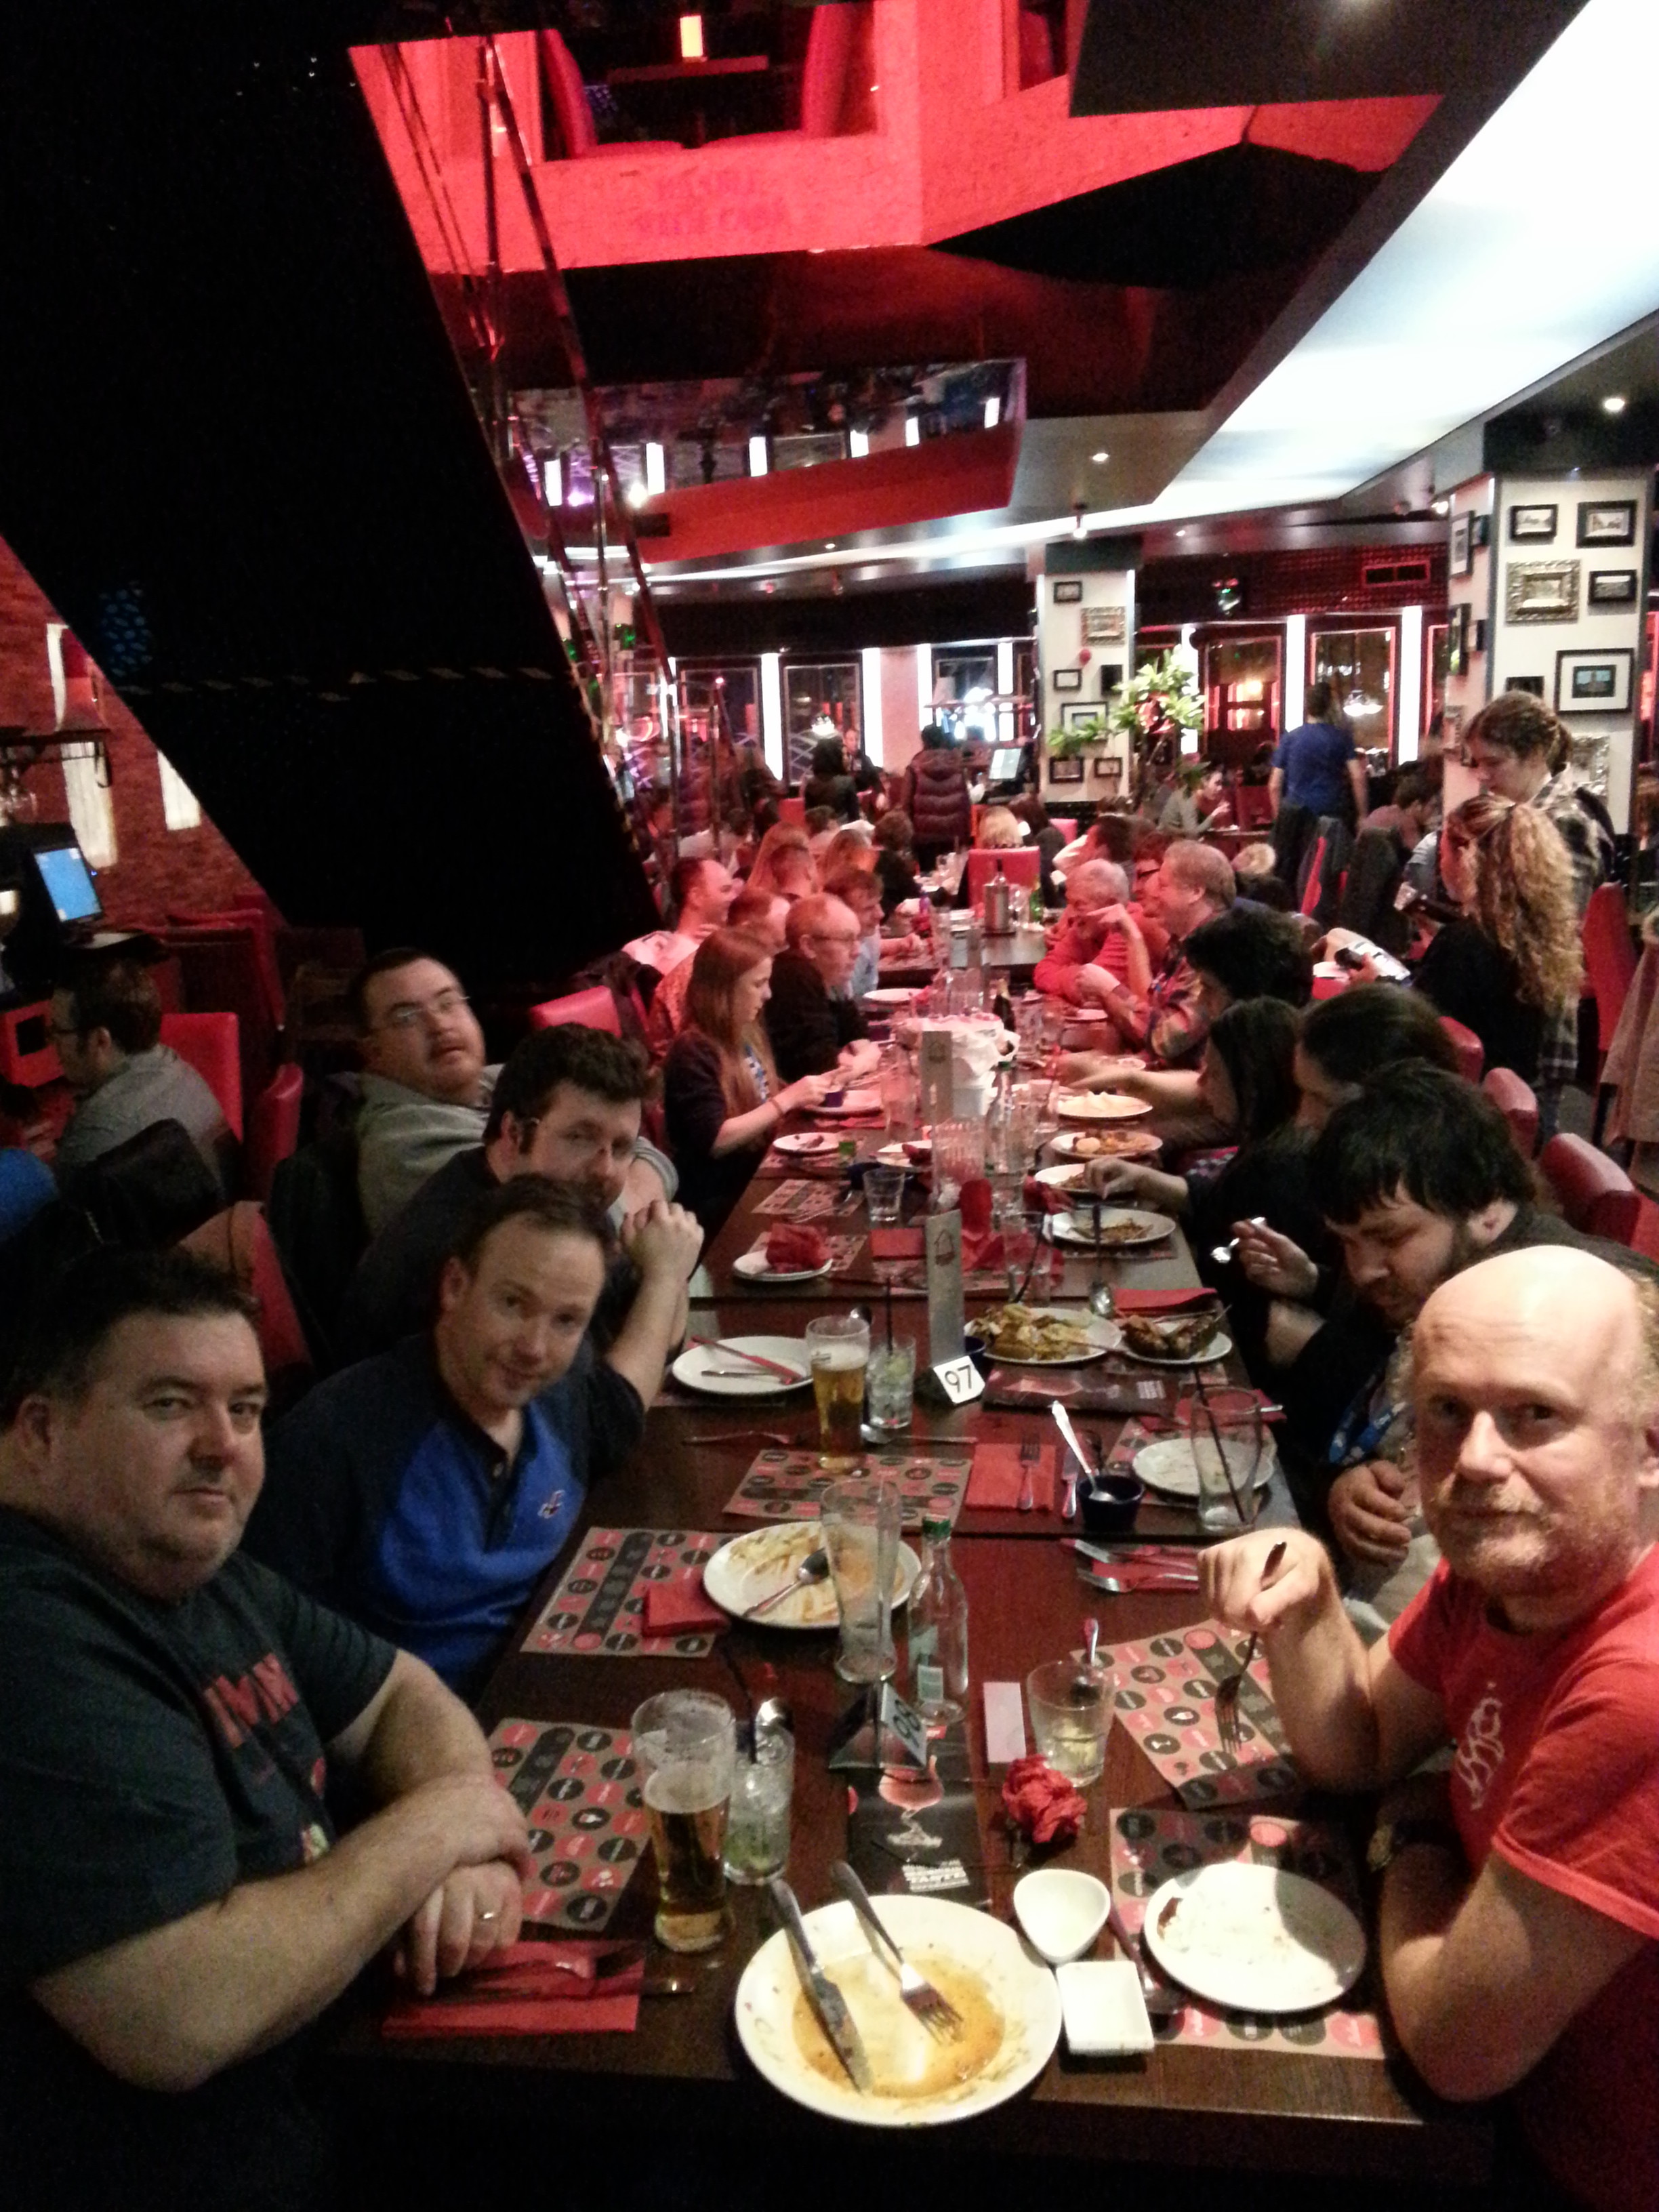
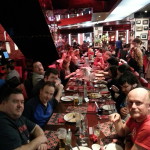
A geek’s gotta eat!
-
-
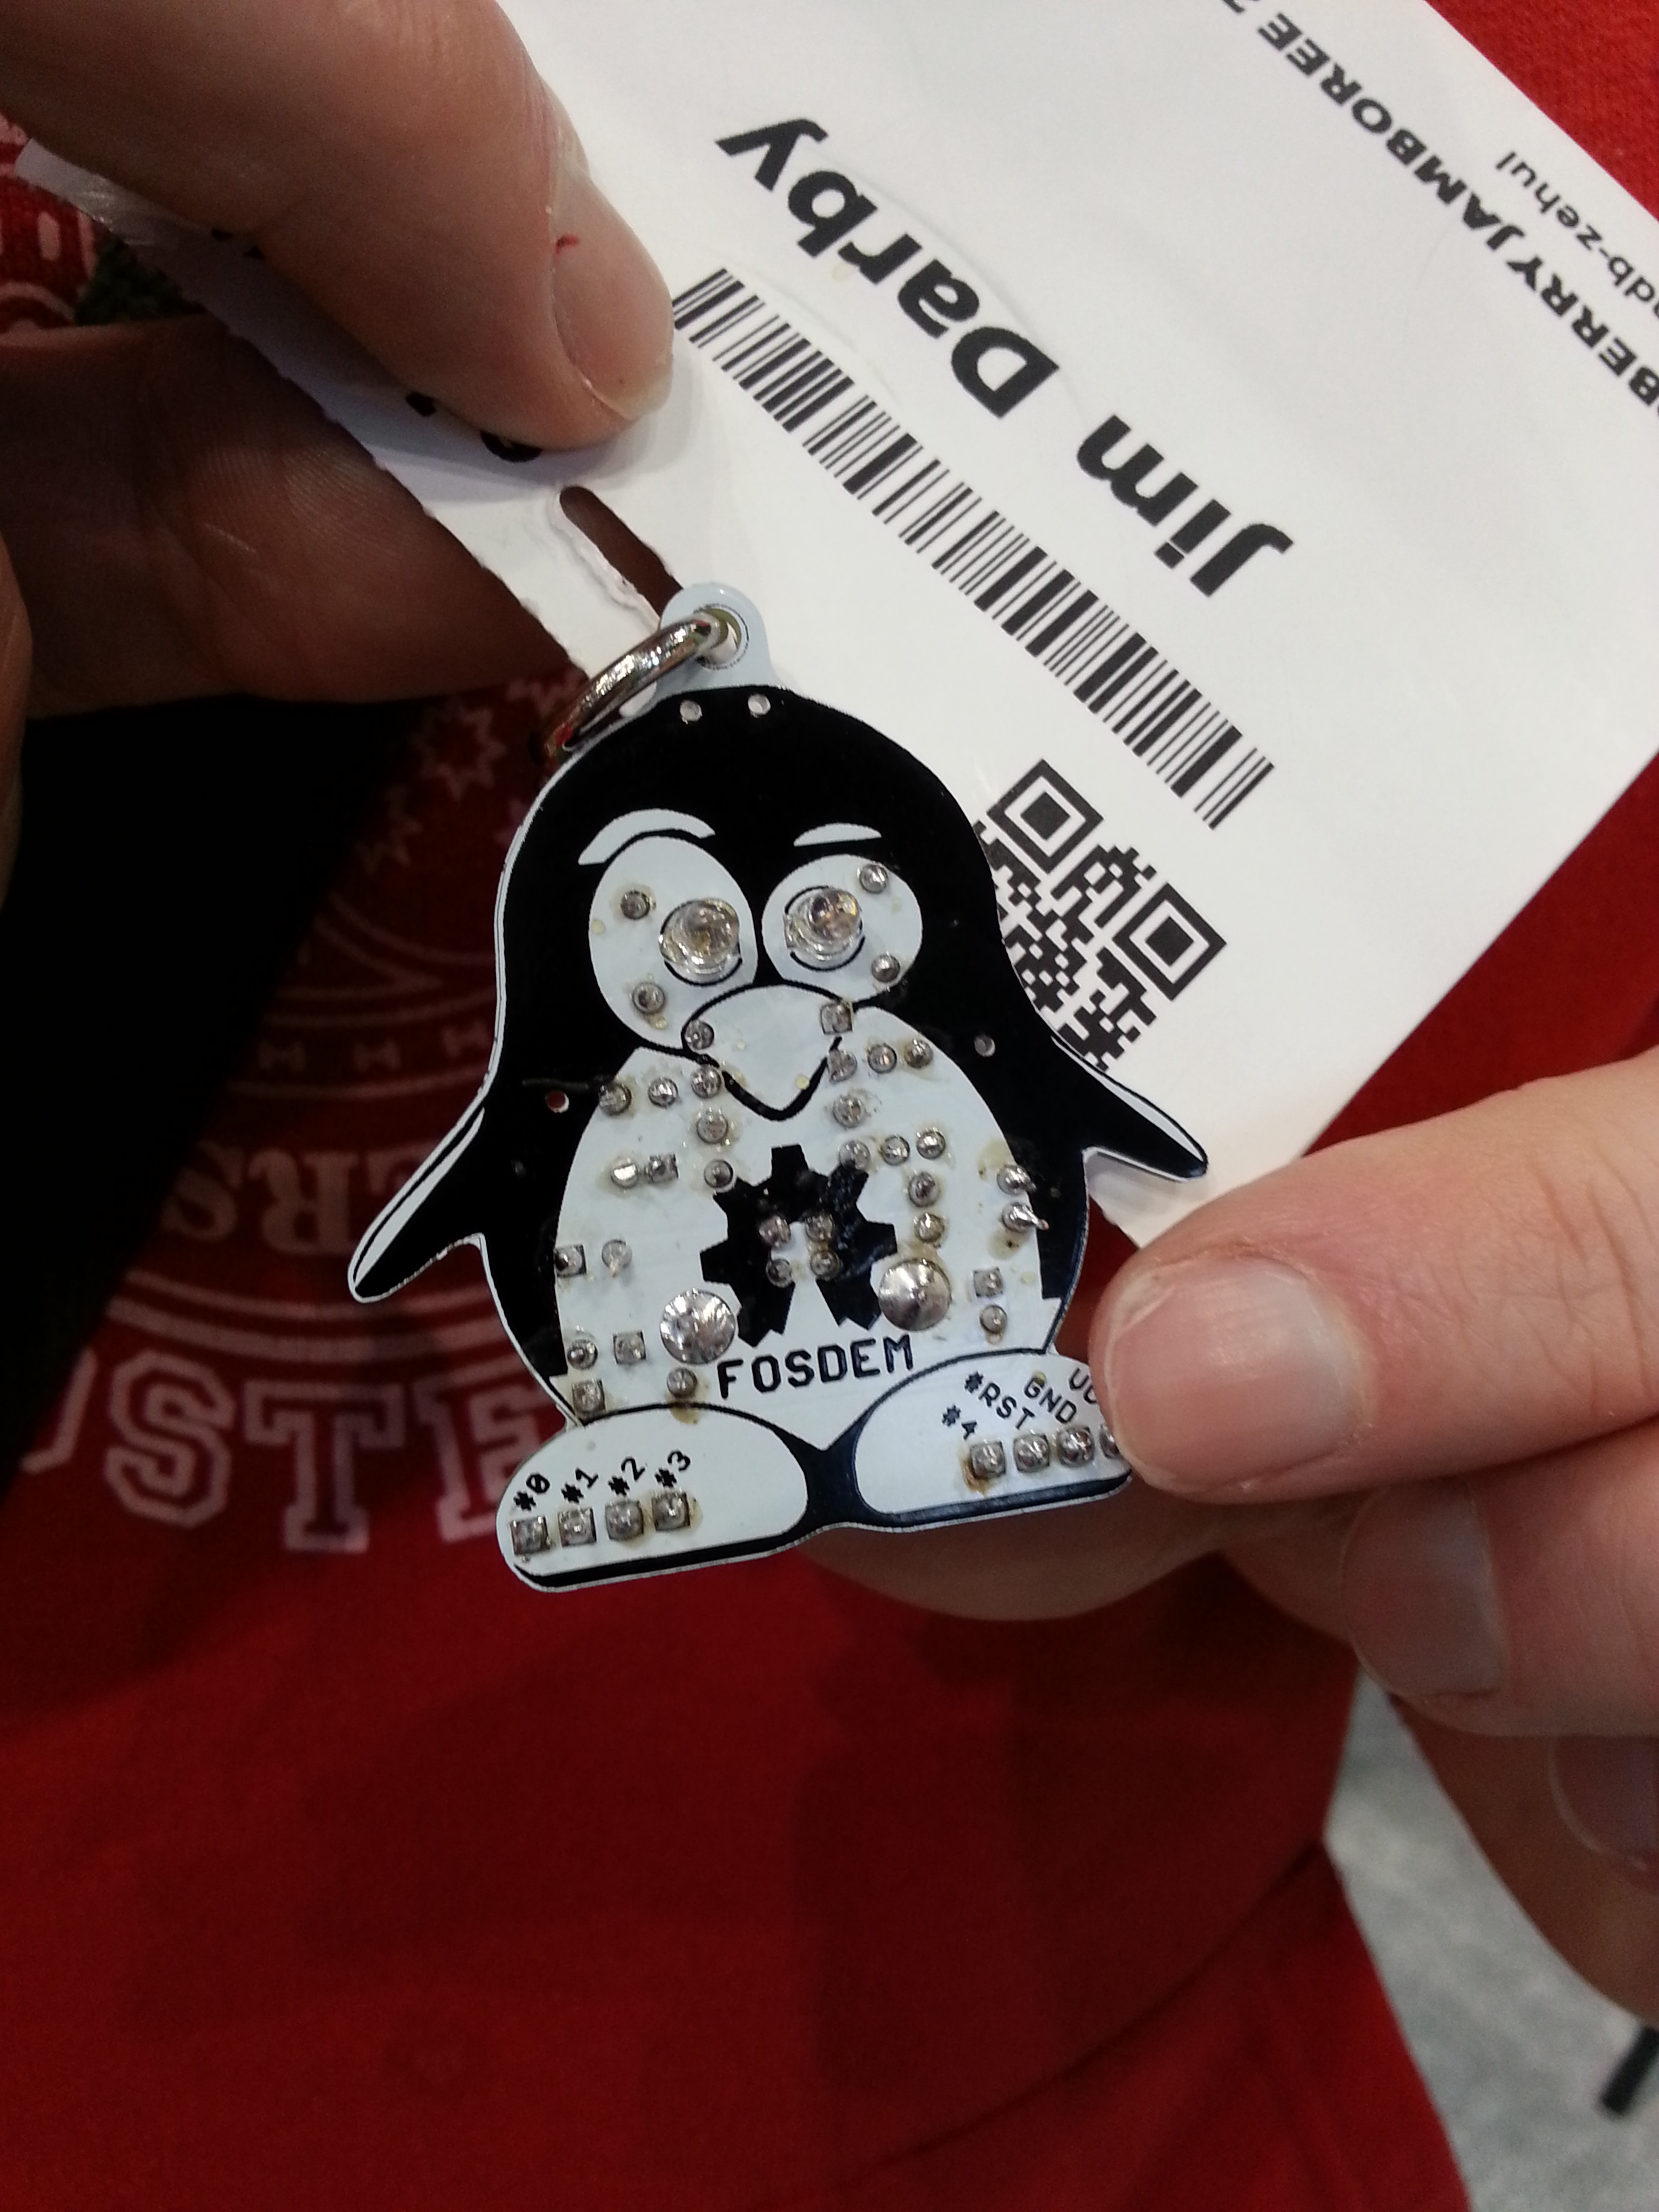
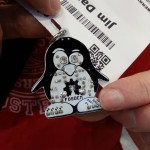
Little programmable Arduino penguin (FOSDEM-85 from OLIMEX)
-
-
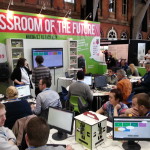
Google Coder workshop
-
-
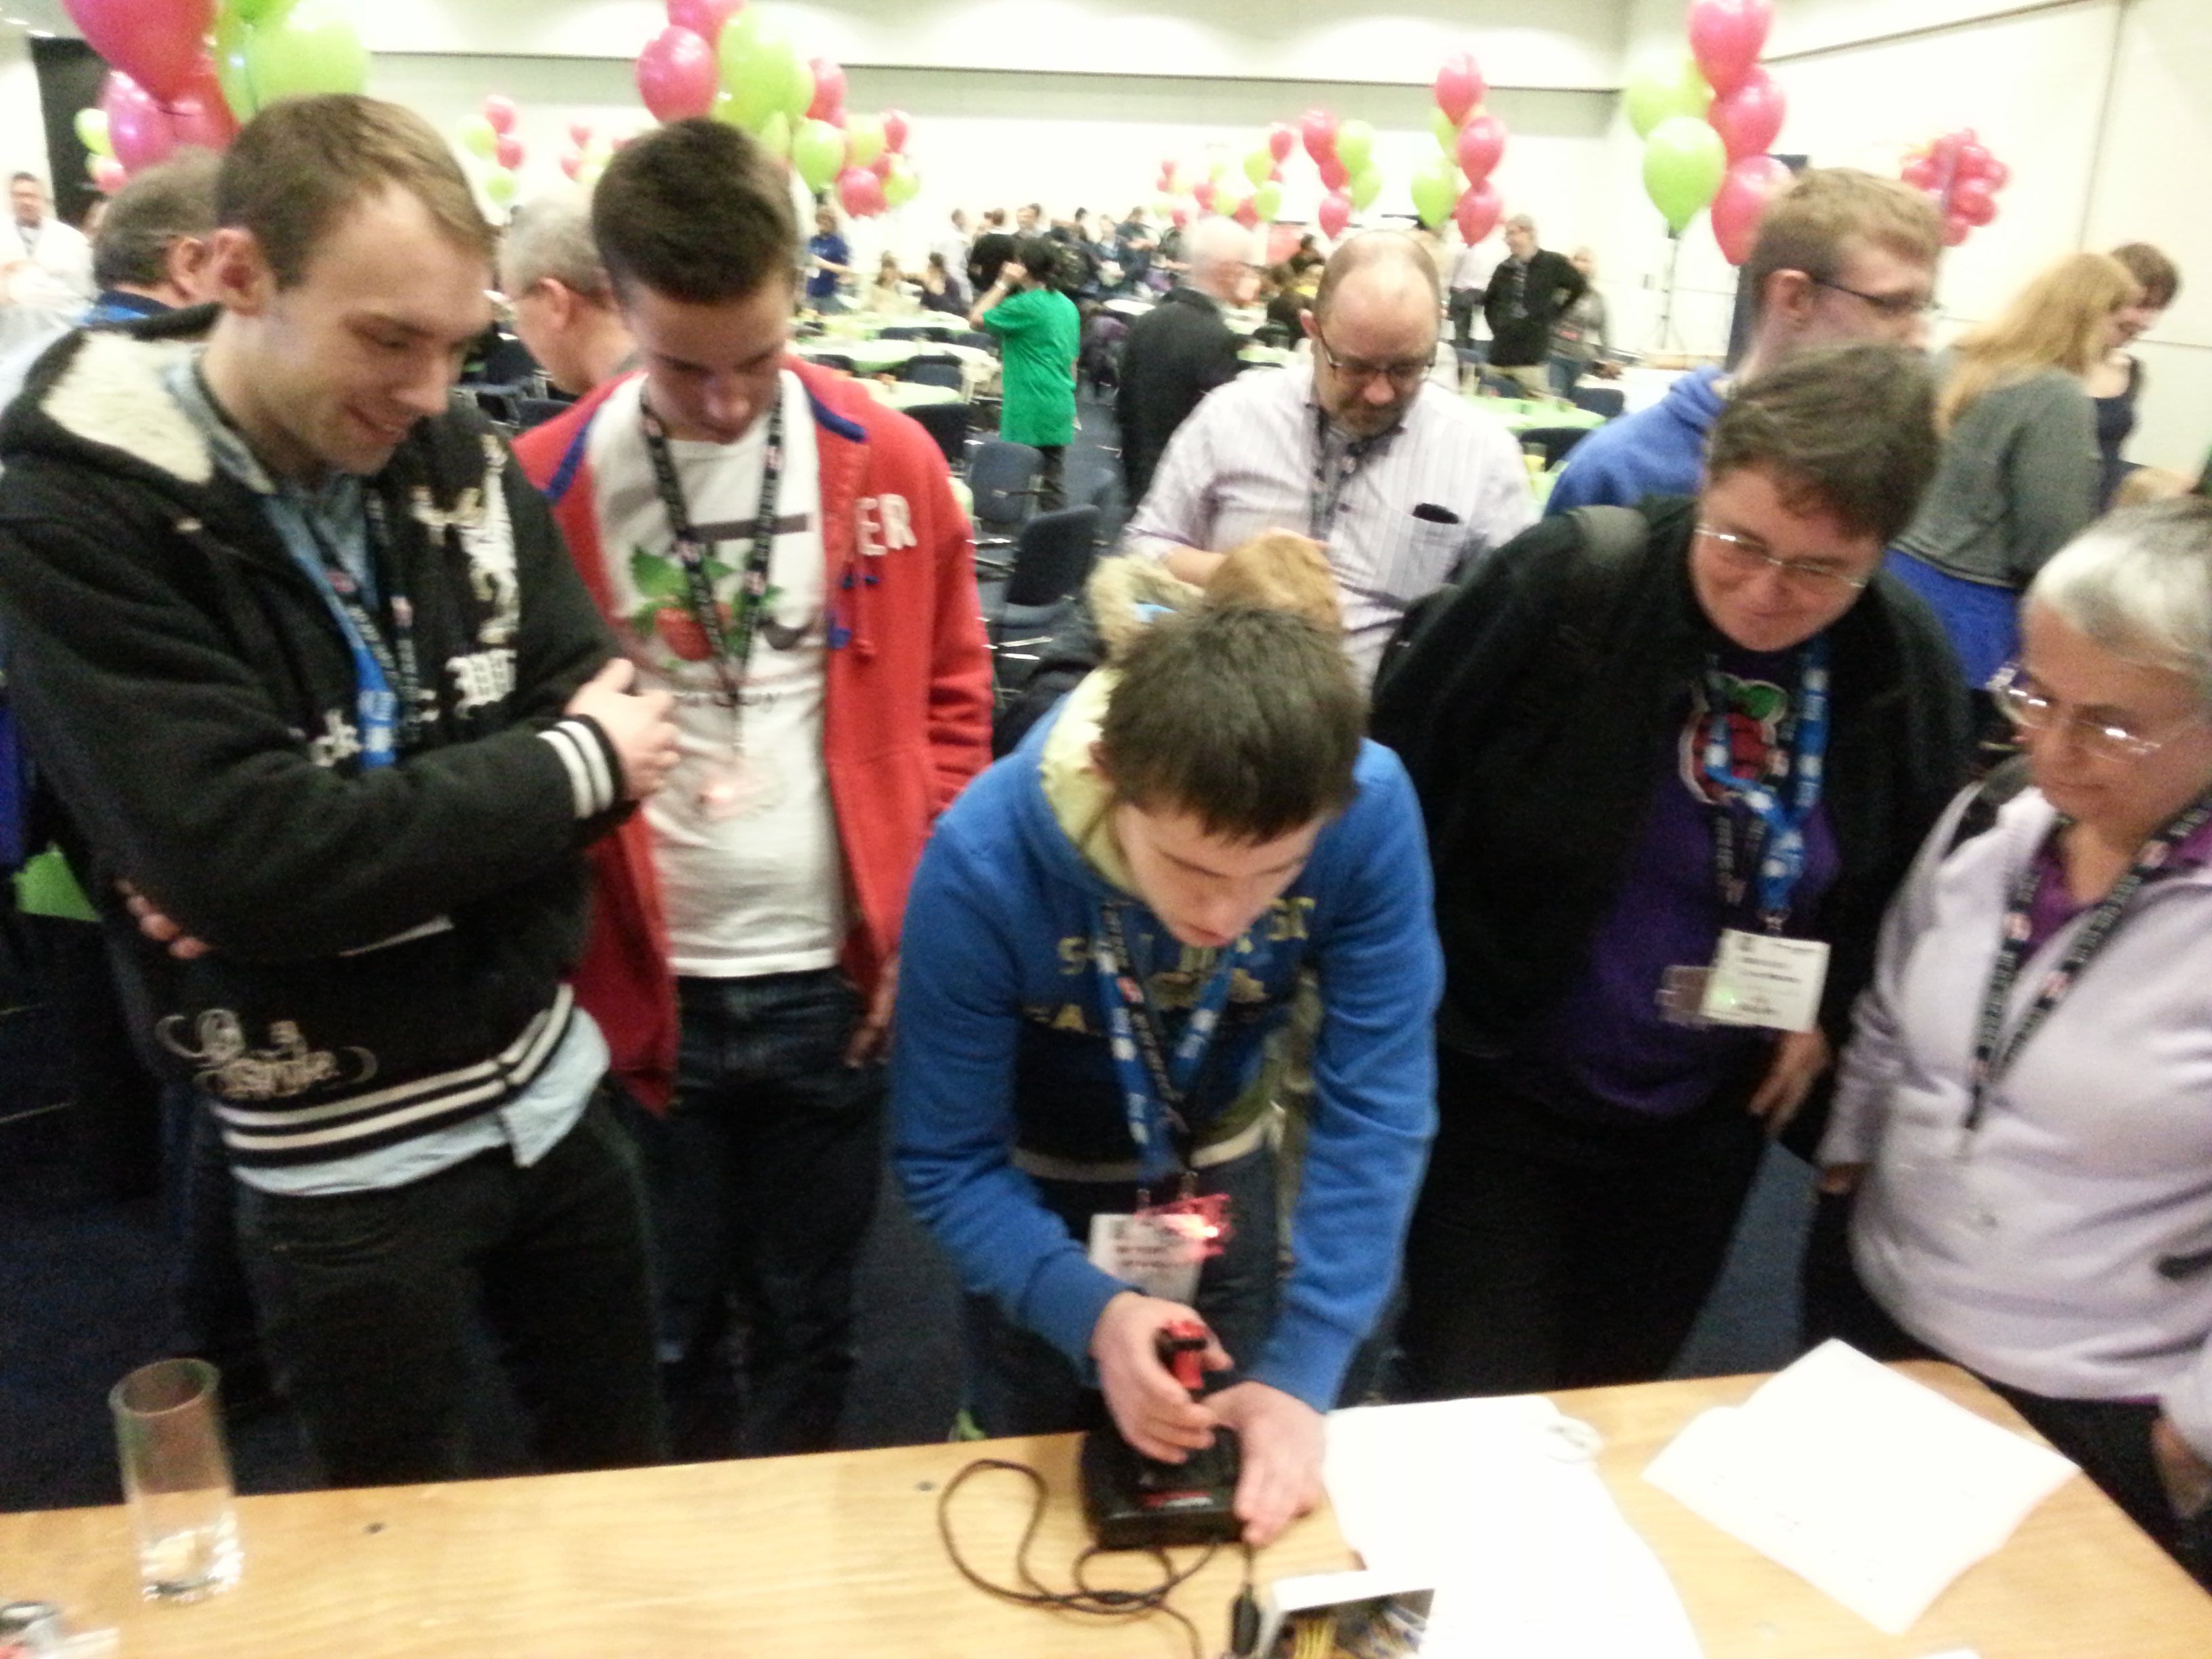
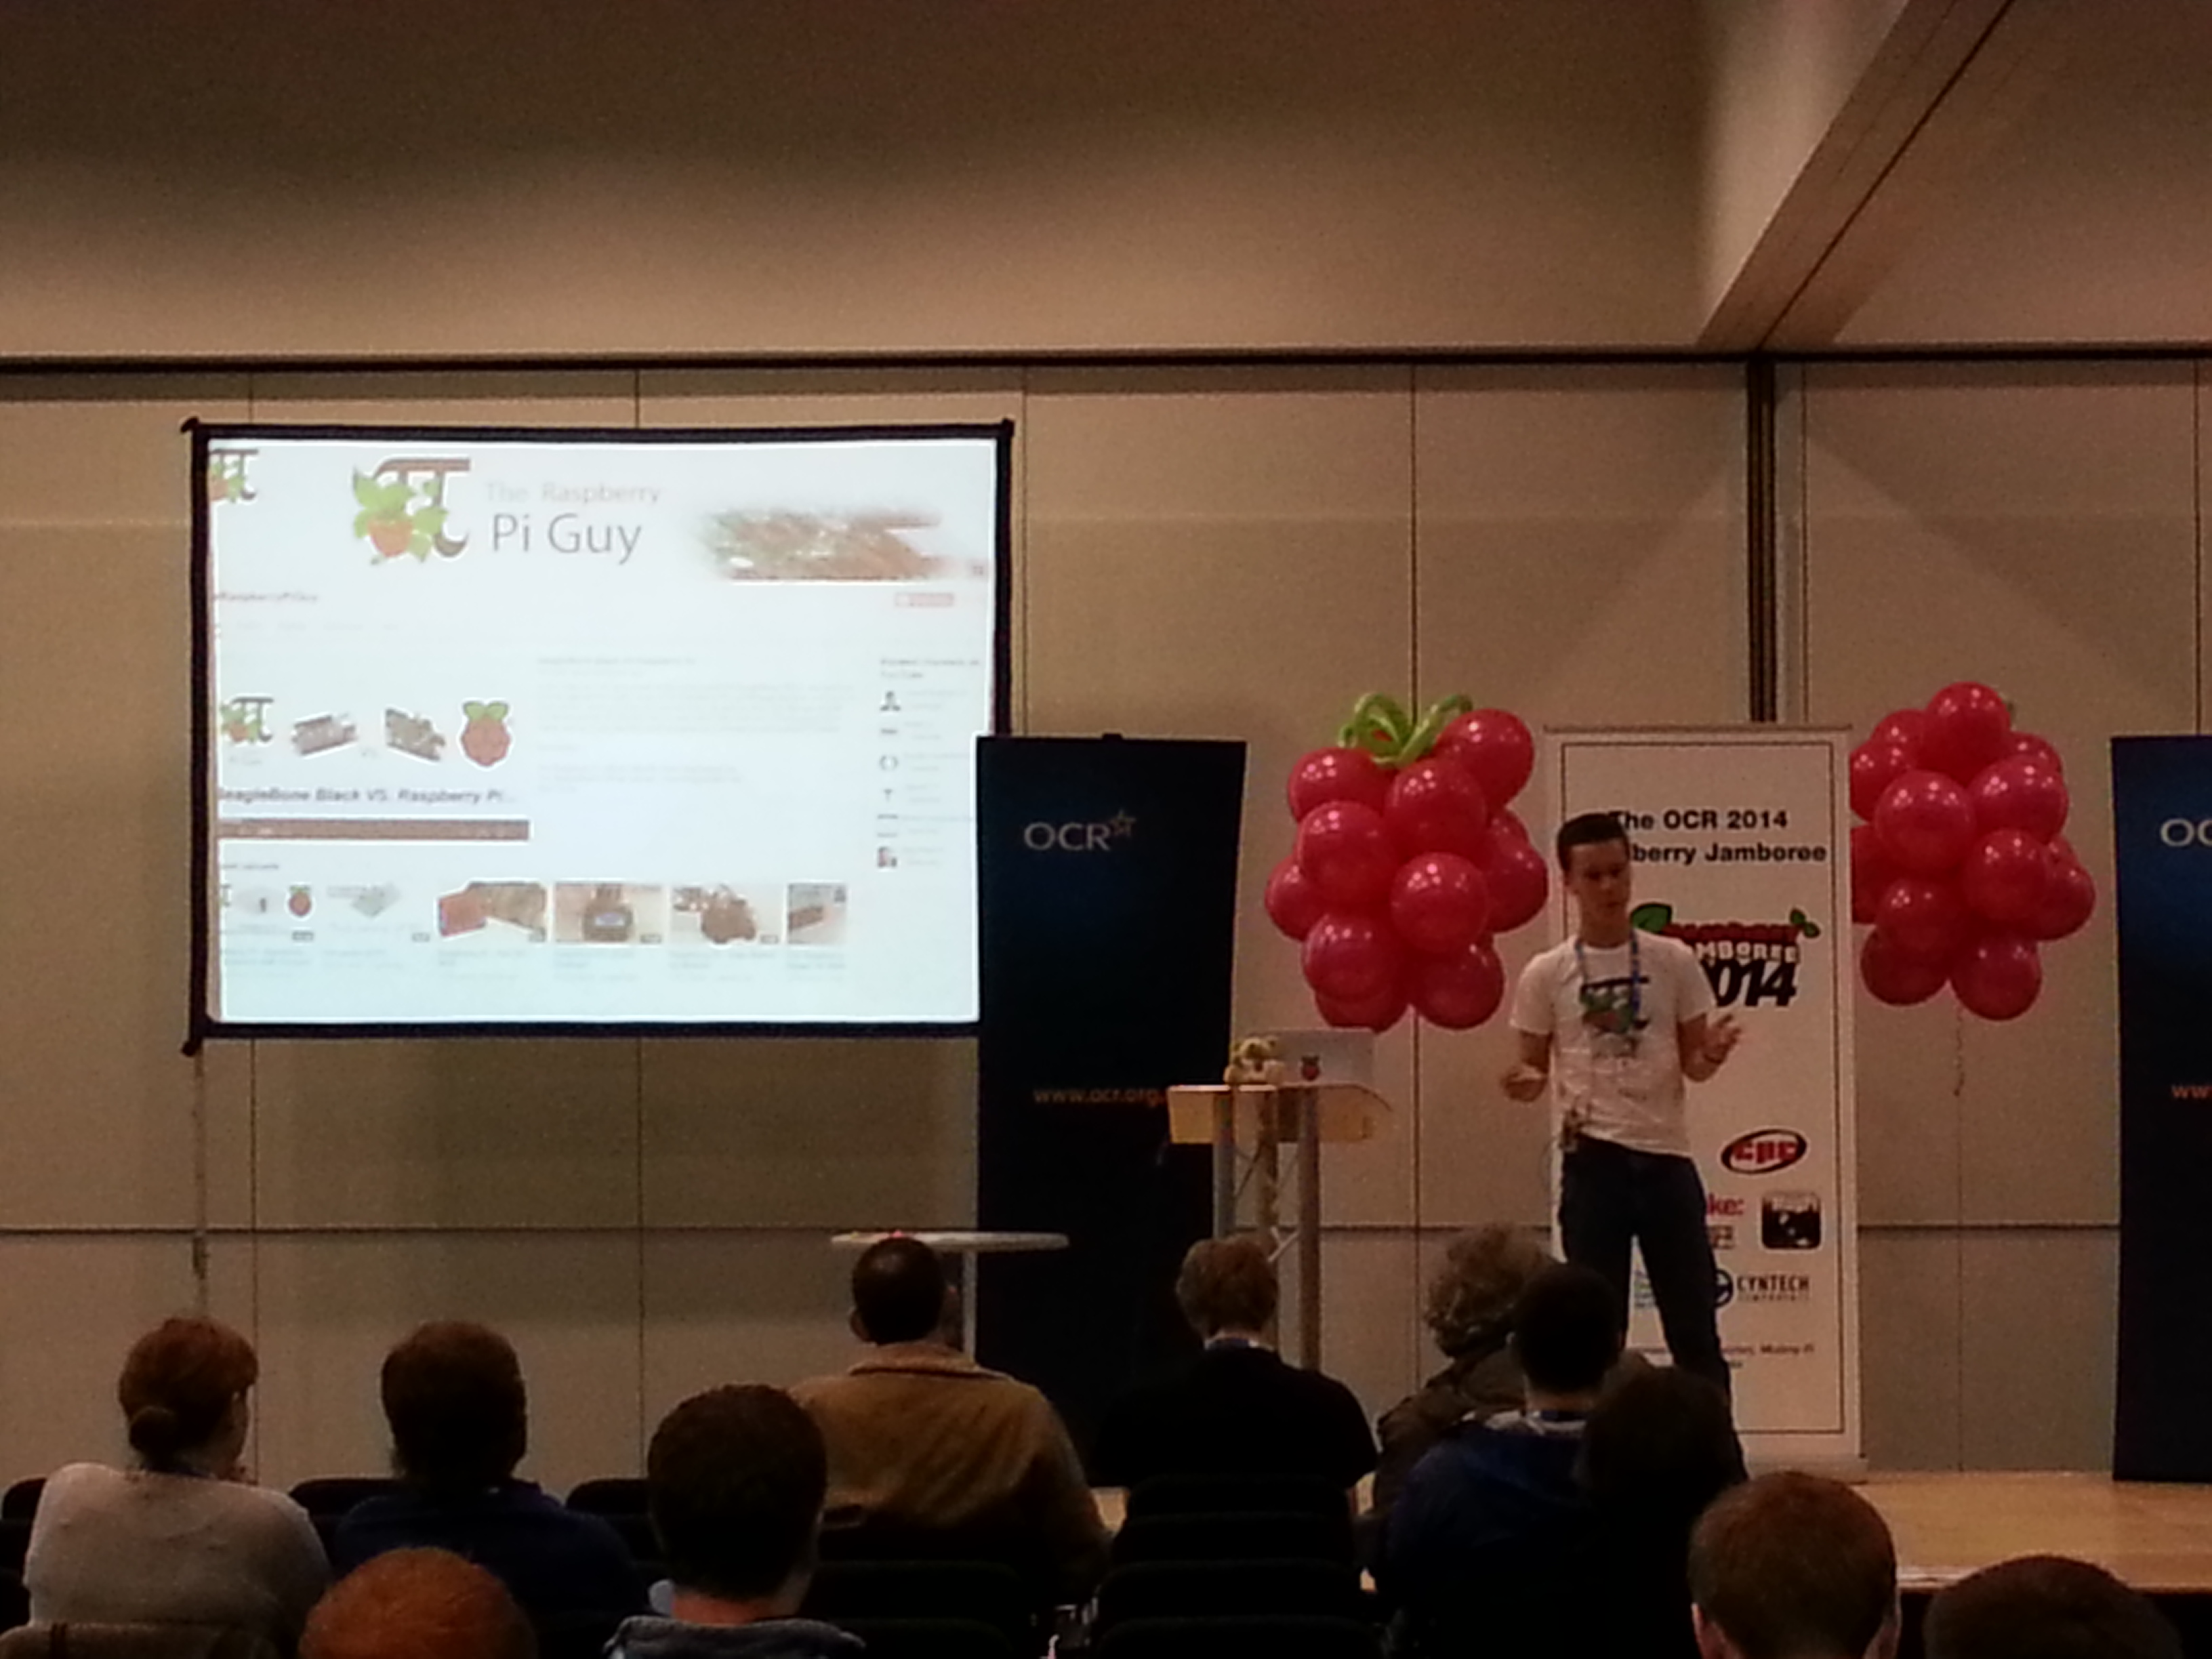
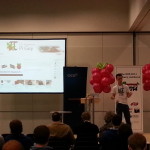
14yo Matthew Timmons-Brown (aka Raspberry Pi Guy) talk on robotics
-
-
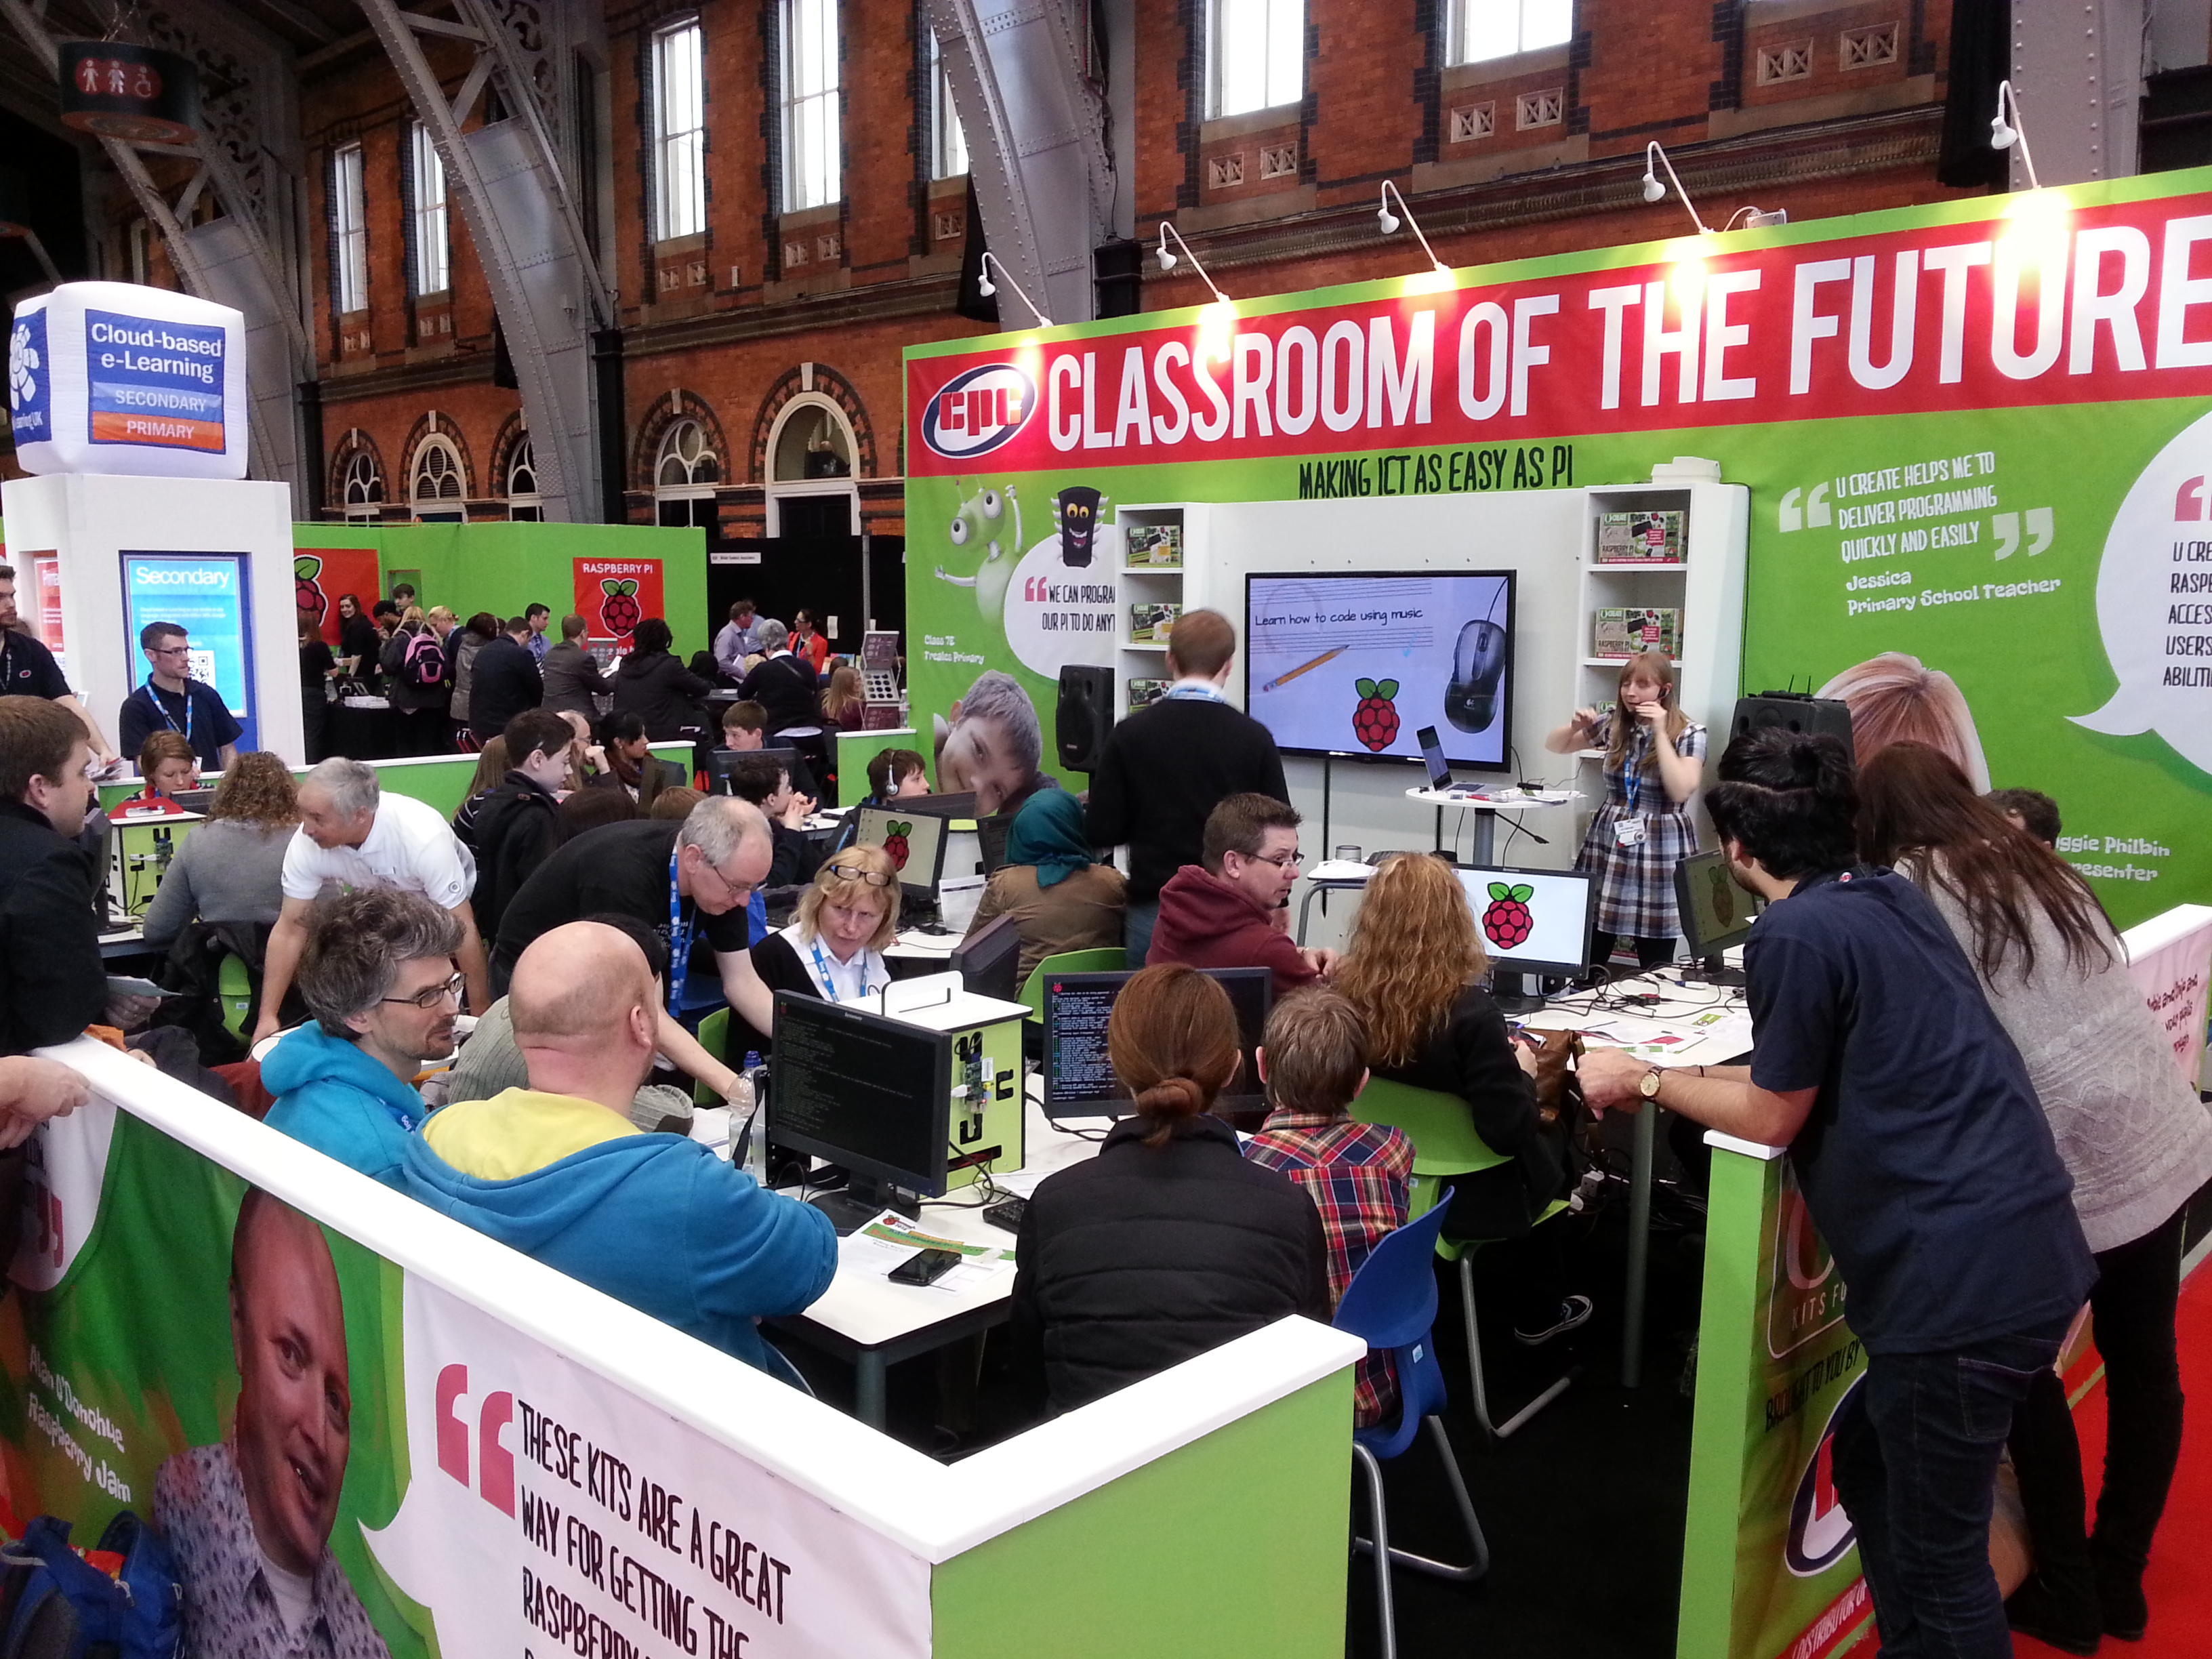
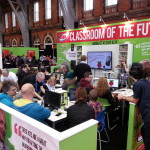
Adventures in Raspberry Pi workshop